
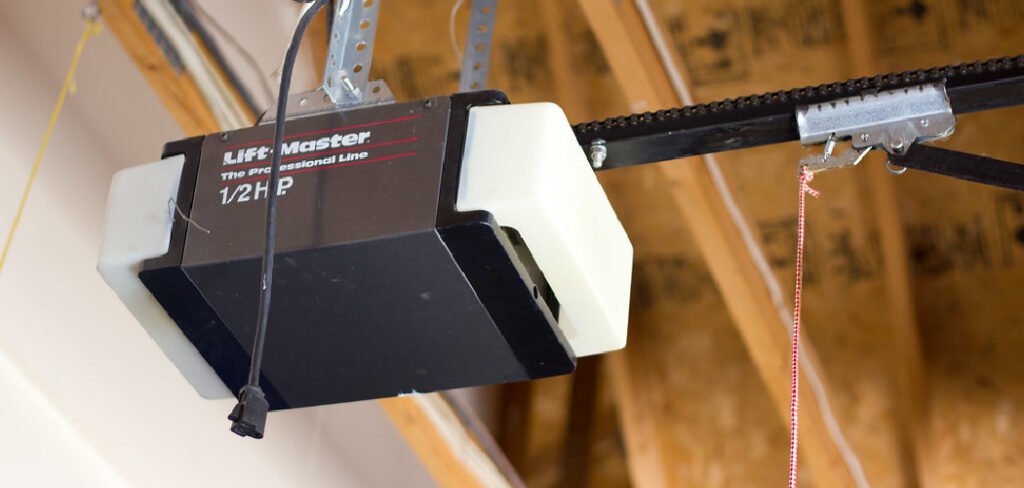
Your garage is one of the main entry points to your home, and ensuring its security provides peace of mind. Many homeowners wonder about the best ways to protect their garage, particularly when planning to be away for an extended period. Learning how to lock Liftmaster garage door opener systems adds an extra layer of protection, disabling remote controls and giving you more control over who can access your space. This guide walks you through the process in a clear, reassuring way.
We’ll explore the features available on your opener, explain their importance, and provide step-by-step instructions. By following these methods, you can feel confident in your home’s safety while keeping the process simple and stress-free. Using the built-in security features of your opener is a straightforward way to enhance protection without complex installations.
Understanding the Lock Feature
The “lock” or “vacation mode” on a Liftmaster garage door opener is a built-in security feature that temporarily deactivates all remote controls and wireless keypads linked to the opener. When activated, pressing a remote will not operate the door, ensuring unauthorized access is prevented. The only way to operate the door is through the wired wall control panel inside your garage. This feature is particularly useful for vacations or periods when your home is unoccupied. It’s a simple, effective way to gain more control over who can access your garage without requiring additional hardware or modifications.
Getting Ready to Secure Your Garage
Before activating the lock feature, it’s helpful to prepare. Familiarize yourself with the control panel and any safety measures you need. You’ll also want to clear temporary access codes on your keypad if applicable. The goal is to make the process straightforward and stress-free. Preparing in advance allows you to confidently use your system’s security features. Think of it as learning a new, helpful function of a device you use daily, improving security and peace of mind without complicating your routine.
The Importance of Using the Lock Feature
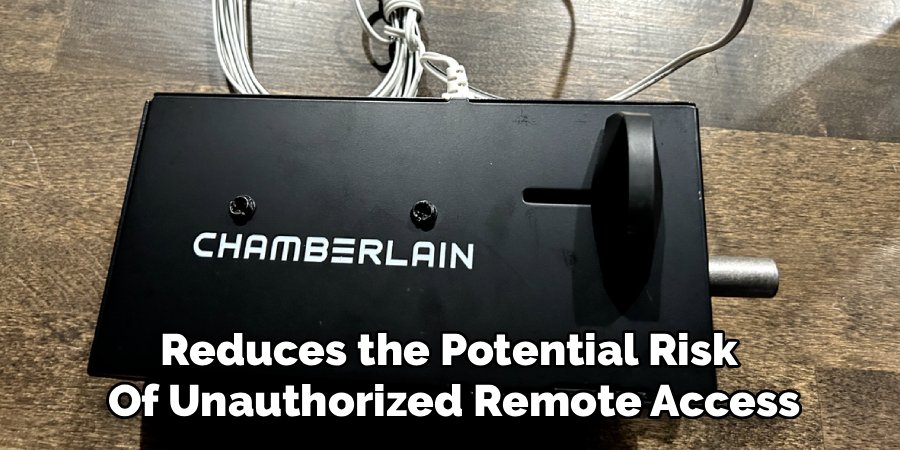
Activating the lock feature on your garage door opener is a proactive approach to home safety. It reduces the potential risk of unauthorized remote access. While modern openers already have strong security features, using the lock function provides additional reassurance, especially when you’re away. This simple measure secures one of your home’s primary entry points and contributes to overall peace of mind. It’s about using the tools you already have efficiently, creating a safer environment without needing extra equipment or professional installation.
Common Situations You Should Be Aware Of
Being mindful of certain situations can improve your garage security. Lost or misplaced remotes can pose a risk if they fall into the wrong hands. Older remotes may be more susceptible to interference or signal interception in rare circumstances. Awareness of these scenarios helps illustrate why features like the lock mode are so valuable. This perspective isn’t about creating fear but encourages a proactive approach to protecting your home. Regularly using built-in security features ensures you are taking simple steps to maintain safety.
Tools and Materials You’ll Need
- A sturdy step ladder or stool
- Safety glasses
- User manual for your specific Liftmaster model (optional)
- A non-conductive tool such as a wooden stick or plastic pen (for recessed buttons)
Step-by-Step Guide: How to Lock Liftmaster Garage Door Opener
Step 1: Locate Your Wall Control Panel
Simple Precaution: Ensure the area around your garage door is clear of objects, people, and pets. This establishes a safe workspace and prevents accidental contact with the door.
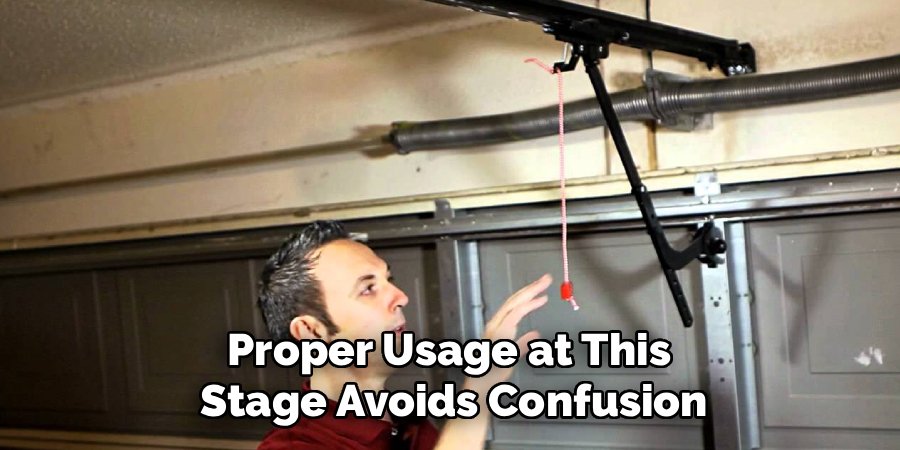
Step Explanation: Start by identifying the main wall-mounted control panel for your Liftmaster opener. Typically located near the entry door from the garage into your home, this wired unit is your primary control. Depending on the model, it may be a simple button panel or a smart control panel with a screen. Look for the “Lock” button, usually labeled with a padlock icon. Familiarity with this panel ensures smooth operation when activating the lock feature. Proper usage at this stage avoids confusion and sets the foundation for secure operation.
Step 2: Clear Any Programmed Temporary Passwords
Simple Precaution: Stand slightly to the side of the control panel to avoid straining or contacting any exposed components.
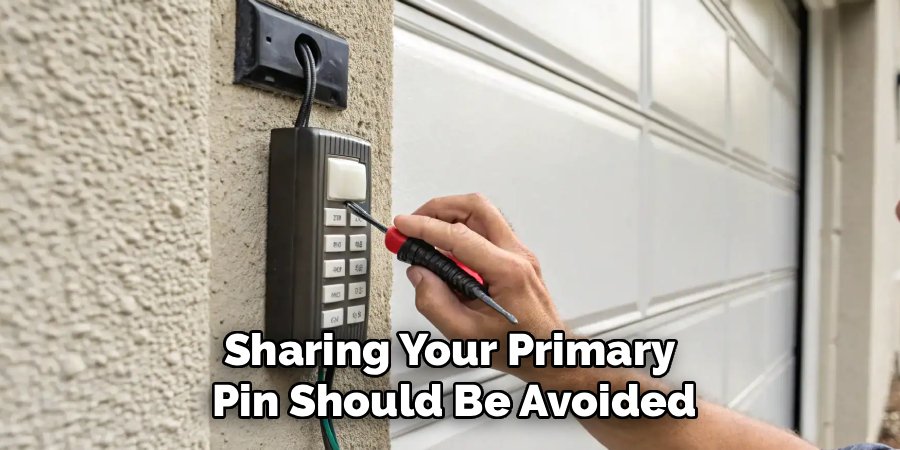
Step Explanation: If your system includes an exterior keypad, clear any temporary codes first. Temporary codes are often shared with service personnel or guests and may be forgotten. Deleting them enhances your security protocol, ensuring only primary users can operate the door. Typically, you enter your master PIN followed by a specific key sequence, which is outlined in your owner’s manual. By taking this step, you improve access control and reinforce the overall effectiveness of the lock feature.
Step 3: Activate the Lock Feature on the Control Panel
Simple Precaution: Press the button gently with your fingertip, avoiding sharp objects or excessive force to protect the panel’s electronics.
Step Explanation: Press and hold the “Lock” button for two to three seconds. Most smart panels will display a padlock icon or illuminate an LED next to the button, confirming activation. Simpler panels use a steady light to indicate lock mode. Once activated, all remote controls are temporarily disabled. This simple measure ensures your garage remains secure, especially when you are away. It’s a proactive, everyday precaution that enhances protection while maintaining convenience.

Step 4: Test the Remote Controls
Simple Precaution: Stand at a safe distance from the garage when testing remotes. Even though the door shouldn’t respond, maintaining distance ensures safety.
Step Explanation: Test each remote by pressing the open button. If the lock feature is active, the door will not move, and you may notice a click or flash of the opener’s lights. Testing confirms that all remotes are disabled and gives confidence that your home’s security is improved. This verification is an essential step, ensuring the lock feature is functioning as intended and that you are fully in control of garage access.
Step 5: Verify the Wall Control Still Operates the Door
Simple Precaution: Ensure the area around the door is clear to prevent accidents during testing.
Step Explanation: Press the open/close button on the wall control. The garage should operate normally, confirming the lock only disables remotes and not the main panel. This ensures you maintain safe, easy access while adding a layer of protection against unauthorized entry. Testing the wall panel is a crucial step in balancing security with usability, confirming that your garage remains fully functional from the inside.
Step 6: Deactivating the Lock Feature
Simple Precaution: Approach the panel carefully, maintain stable footing, and ensure hands are dry before touching controls.
Step Explanation: To deactivate, press and hold the “Lock” button for two to three seconds. The padlock icon or LED indicator will disappear, allowing remotes to function again. Test a remote to confirm. This step restores convenience while maintaining control over your garage’s security. Proper deactivation ensures that normal operation resumes safely, completing the full cycle of using the Liftmaster lock feature responsibly.
Simple Safety Tips You Can Use
Consider adding a motion-activated light near the garage for visibility at night. Always visually check that the door is fully closed when leaving. For privacy, frost or cover windows on the garage door. Keep remotes in a secure location and avoid leaving them in plain view inside vehicles. These preventive measures complement the lock feature, creating a safer environment without complex tools or modifications.
Common Mistakes to Avoid
Avoid forgetting the lock feature is active, as you may assume a malfunction when a remote doesn’t work. Remember the lock only disables remote access; it does not physically bolt the door. Sharing your primary PIN should be avoided; use temporary codes for guests or service personnel and delete them afterward. Awareness of these points prevents confusion and ensures your security measures work as intended.
Frequently Asked Questions
What if my Liftmaster opener doesn’t have a “Lock” button?
Some older models lack a dedicated lock button. In this case, unplugging the motor unit is the most effective method to disable remote access. This temporarily deactivates all electronic functions. Ensure the trolley is re-engaged and the unit plugged back in to resume normal operation when ready.
Will the lock feature drain my opener’s battery?
The lock feature consumes minimal power, similar to standby operation. It won’t significantly affect your electricity usage or battery backup. This makes it safe to use without concern for energy consumption.
Can I still open the door manually when the lock feature is on?
Yes. Lock mode only affects remote access. The door can still be opened manually using the red emergency release cord, ensuring you always maintain control in power outages or malfunctions.
How do I know if the lock mode is active on my Liftmaster garage door opener?
Smart panels display a padlock icon on the screen, while LED-equipped panels illuminate a small light near the lock button. Pressing a remote without movement also indicates the lock is active.
If I lose a remote, should I just leave the lock on permanently?
Temporary lock usage is fine, but the better long-term solution is to erase all remotes from memory and reprogram the ones you still use. This ensures security while maintaining normal convenience.
Conclusion
Learning how to lock Liftmaster garage door opener systems is an effective way to improve home security. Following these simple steps empowers you to use your opener’s built-in features responsibly, providing peace of mind when away. By understanding and utilizing the tools already available, you maintain safe and secure control over one of your home’s main access points. This proactive approach balances convenience with protection, helping you feel confident that your garage remains secure while simplifying your daily routines.
